Of all the roof related troubles present up-to-date, replacement of tiles is the hardest task. Such kind of work requires excellent skills and extreme neatness, which can better be handled by professionals, like roofers Huddersfield. However, if you think you do not need any expert help and want to carry out tile repairing all by yourself, then you have landed at the right place. In this third part of DIY roof repairing, we shall help you sort out the tiling process of your home’s roof at your own.
Tile replacement:
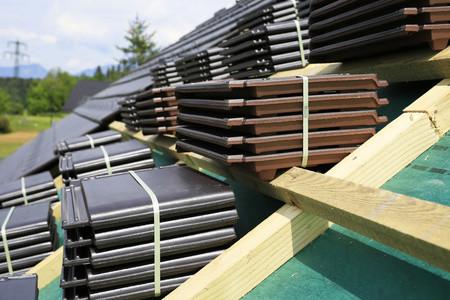
Here is how to replace broken tiles of a pitched roof.
Depending upon the weather conditions your house has to face, roof tiles might be fixed to an underlying layer of wooden batten either with nails or clips. Hence, in order to set the damaged tile free from the batten, you must make use of a specialized tool known as ‘Slater’s ripper’, which you may hire from any hardware store if you do not wish to buy one.
Start your work from the point of highest broken tile. After using the cutter, you would need to slip out the damaged tile carefully. Slide away the adjacent tiles in an upward direction, and carefully tilt outwards the defected one. You may carry down the tiles one by one or you may collect them in a bucket.
Next, start wiggling the surrounding intact tiles and slowly slip the new one beneath them. Slide and position it until it fits onto the wooden batten perfectly.
Try replacing broken roof tiles at your own and save yourself some useful pennies.
Slate replacement:
Roof slate replacement works in the same manner as that of a tile, however, slate fixation requires use of metal strips. Start removing broken slate carefully, by shaking it left and right until it comes off. Be careful about the sharp edges.
Take metal strips and cut them at a length corresponding to that of the new slate. In the space emptied by the broken slate, fix the metal strip using galvanized clout nail, which should be at a distance of about 25 mm from the end.
Take the new slate and carefully slide it under the adjacent slates. Position it until it fixes properly. Grab the end of the metal strip which is protruding from the lower end of the slate and bend over its edge.
There you go! You have fixed a slate all by yourself.